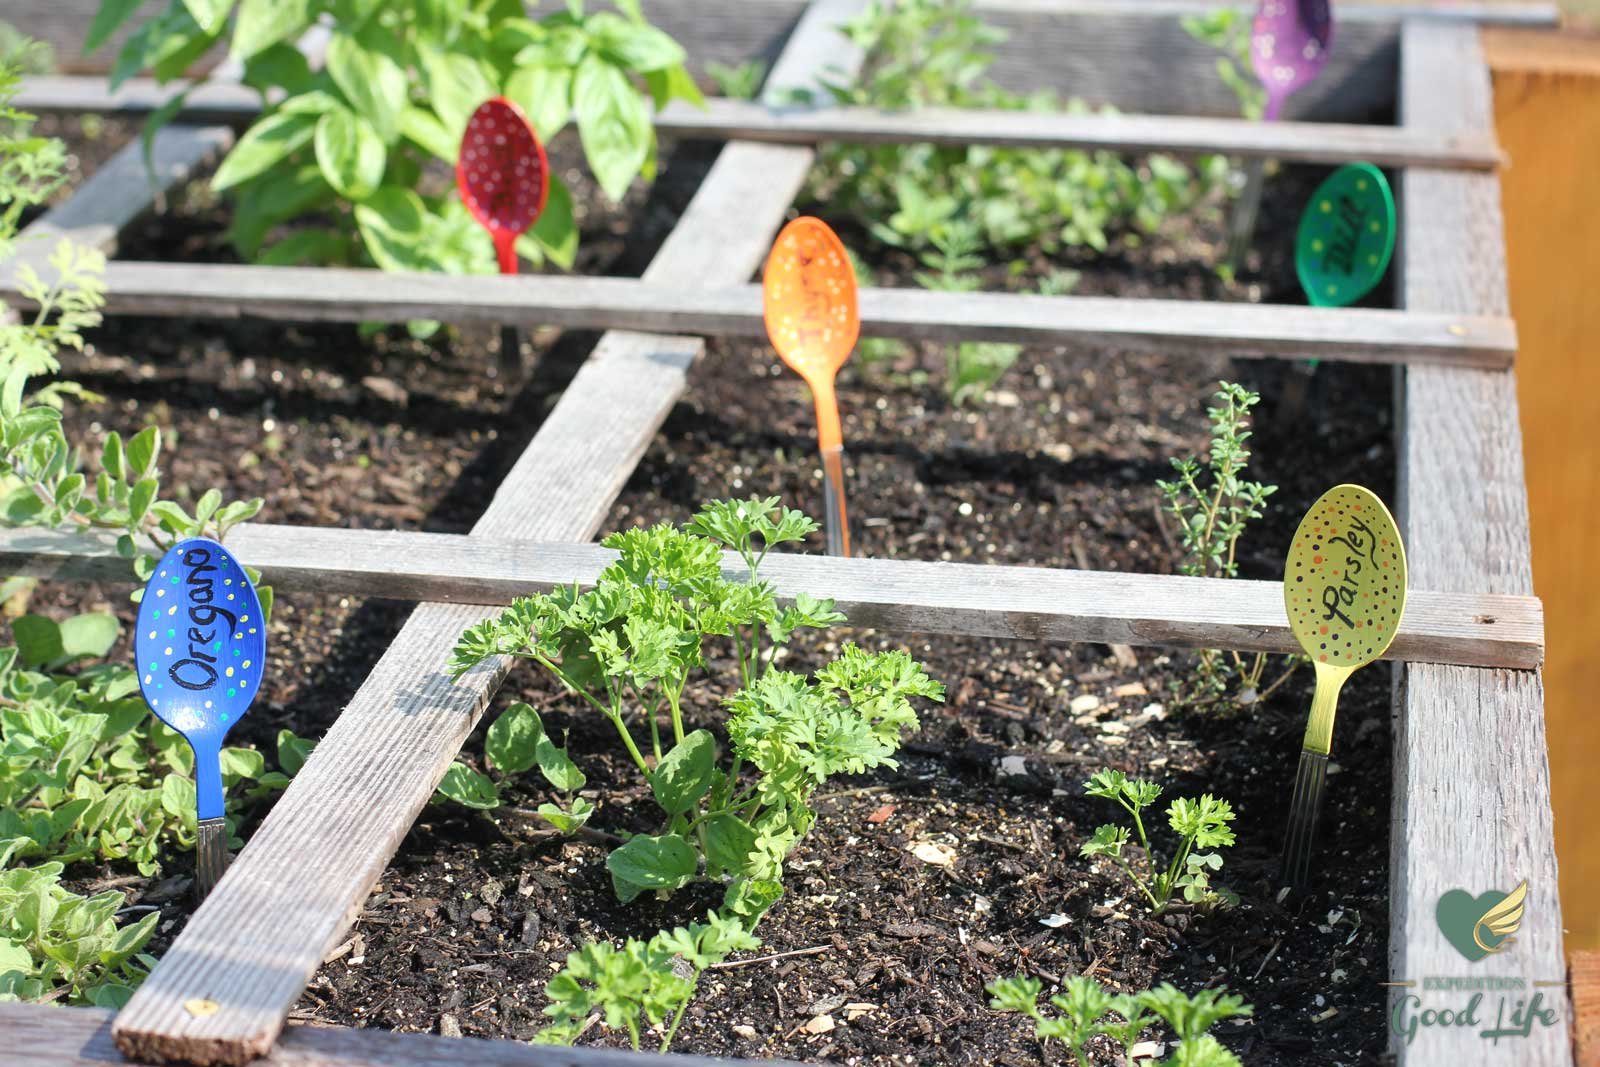
DIY: Garden Spoon ID Picks
Ok so I am just going to admit it, being newer still to gardening I can not always tell the plants that are growing up especial when they are seedlings. We started with Popsicle stick ID’s in the garden that eventually faded and broke. I saw this cute idea on Pinterest (I’m obsessed, of Pinterest, not the spoons… but they are cute) for spoon ID’s in the garden. Here is our project and how we did it. They are great because they won’t fade, even so far the ones we have tested without Mod Podge coating, by the way, and they don’t break.They are colorful, easier to read and a nice whimsy for any garden. They are also great gifts for a green thumb friend or family member.
What have you used for Garden ID’s? Share below.
Until next time, enjoy the good life,
Woman on a Journey
Tools and Supplies
Spoons
Paint brushes
Water bowl (plastic or glass)
Acrylic Paints
Mod Podge
Sponge Brushes
Hammer
[vc_single_image image=”2528″ border_color=”white” img_link_target=”_self” img_size=”medium” alignment=”center” style=”vc_box_outline”]
One of the easiest projects ever. Simply hammer the back side of a spoon till the spoon handle is a bit straighter covered with an old towel to not damage the spoon, not to worry about flattening the curve of the spoon out it actually protects the writing with the natural curve. Paint your spoon, and dry till covered, may take several times with warmer colors. Then using a black sharpy instead of black paint (tried both this is easier to write with and keep neat) write the name of the plant you wish to label, may take a few times writing over, make sure paint is very dry, if starts to chip try writing lighter at first. Then use paint to make design on spoons, I chose a simple dot theme because I had so many to make. Let dry, then if you would like cover a few times with Mod Podge letting it dry for an hour between covering. Enjoy!

