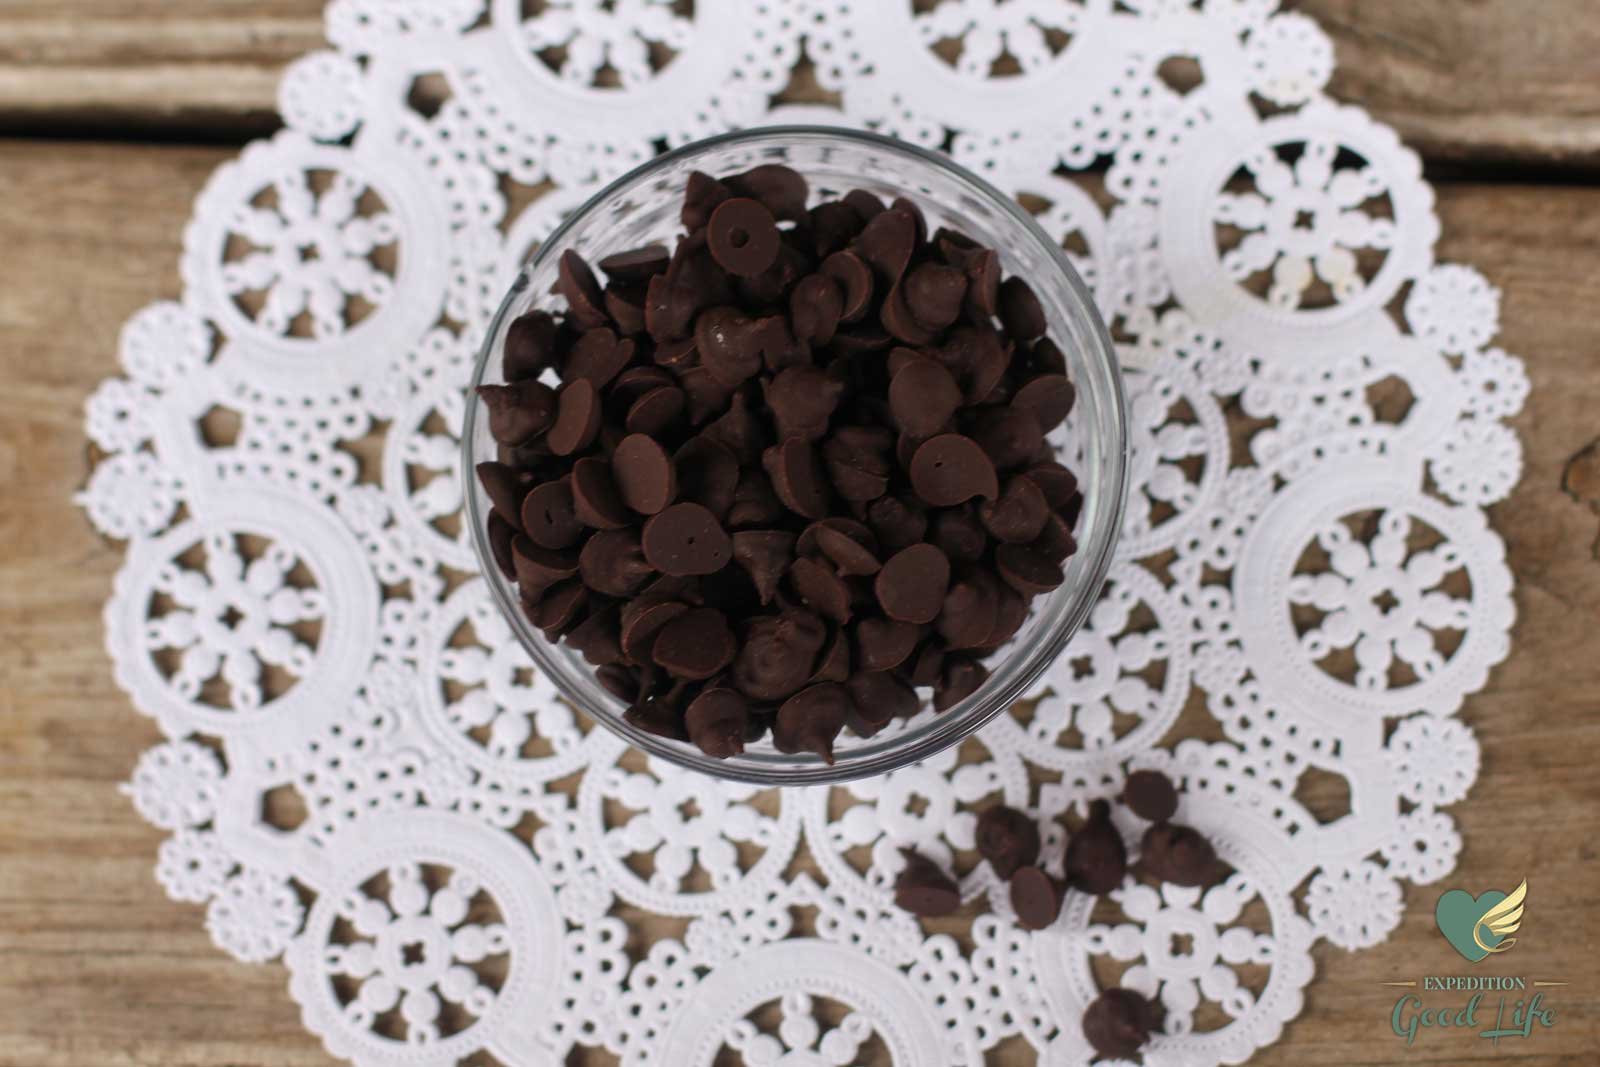
[vc_row][vc_column width=”1/1″][ultimate_heading main_heading=”About this Recipe” alignment=”left” main_heading_font_family=”font_family:|font_call:”][/ultimate_heading][vc_column_text]Who doesn’t love chocolate right? If you don’t sorry, no really, I feel sorry for you, what a tragedy. Lol, just kidding. Seriously though, if you love chocolate and can’t indulge now because of health and or diet restrictions, this is a must recipe for you. The sweetener (powdered Swerve) used in this chocolate recipe is based off of erythritol which won’t raise the blood pressure like most sugars. So it is even a good option for diabetics (be sure to talk to your doctor first).
Also, this recipe comes with a twist I have yet to really see with a good homemade chocolate recipe, how to make them into chips! 🙂 After a lot, of trial and error however! Mimi and I tried alot of ways to get the perfect little chips, honestly no way is easy or avoids a huge mess. But, what worked best was a frosting bag with tips made for chocolate, a simple small open round. This is a ton of work and if you have arthritis or weaker hands it is hard to squeeze the chocolate out. We tried making the chocolate more liquid to squeeze easier, but the chocolate just pooled without forming a chip. So, if you must have a chip you can do it, but it is work. Save it for when you can still see the cute little chips like in ice cream, instead of muffins when they are going to melt. For chocolate for things like muffins, use parchment paper, pour on chocolate and put another piece of parchment on top. Then roll out chocolate flat with a rolling pin. Put on tray and in fridge till hardens. Then take a hammer (like a crab hammer) and break up into small chunks, quick and easy.
What is your favorite way to enjoy chocolate? Share below, and maybe you will see it in the future on EGL.
Until next time, enjoy the good life!
Woman on the Journey[/vc_column_text][vc_raw_html]JTNDcCUyMGNsYXNzJTNEJTIyc2lnbmF0dXJlJTIyJTNFQW1hbmRhJTIwSmVhbiUzQyUyRnAlM0UlMjA=[/vc_raw_html][/vc_column][/vc_row][vc_row bg_type=”no_bg” el_class=”rotatedImages”][vc_column width=”1/2″][vc_row_inner][vc_column_inner width=”1/3″][vc_single_image image=”1976″][/vc_column_inner][vc_column_inner width=”2/3″][vc_column_text]
Tools
- A couple cookie trays
- Parchment paper
- Sauce pan
- Spoon
- 1/2 tsp
- Measure cup with ounces and cups
[/vc_column_text][/vc_column_inner][/vc_row_inner][/vc_column][vc_column width=”1/2″][vc_row_inner][vc_column_inner width=”2/3″][vc_column_text]
Ingredients
- 3 ounces food grade organic cocobutter
- 4 oz organic chocolate sugar free
- 2/3 cup organic 100% coco powder
- 1/2 cup powdered Swerve (or equal amount Stevia or your favorite sweetener, powdered versions do work best).
- 1/2 tsp organic vanilla extract
[/vc_column_text][/vc_column_inner][vc_column_inner width=”1/3″][vc_single_image image=”1977″ border_color=”grey” img_link_target=”_self” img_size=”full”][/vc_column_inner][/vc_row_inner][/vc_column][/vc_row][vc_row class=”rotatedImages” id=”recipeSteps”][vc_column width=”1/1″][ultimate_heading main_heading=”The Process” alignment=”left” main_heading_font_family=”font_family:|font_call:”][/ultimate_heading][vc_row_inner extra_classes=”processStep”][vc_column_inner align=”center” width=”1/3″][vc_single_image image=”1979″ border_color=”white” img_link_target=”_self” img_size=”medium” alignment=”center” style=”vc_box_outline”][/vc_column_inner][vc_column_inner width=”2/3″][vc_column_text]Put coco butter and chocolate in sauce pan, melt down at a low heat (very important or you will burn chocolate).[/vc_column_text][/vc_column_inner][/vc_row_inner][vc_row_inner extra_classes=”processStep”][vc_column_inner align=”center” width=”1/3″][vc_single_image image=”1980″ border_color=”white” img_link_target=”_self” img_size=”medium” alignment=”center” style=”vc_box_outline”][/vc_column_inner][vc_column_inner width=”2/3″][vc_column_text]Slowly, little by little add the Swerve, and work out chunks till smooth.[/vc_column_text][/vc_column_inner][/vc_row_inner][vc_row_inner extra_classes=”processStep”][vc_column_inner align=”center” width=”1/3″][vc_single_image image=”1981″ border_color=”white” img_link_target=”_self” img_size=”medium” alignment=”center” style=”vc_box_outline”][/vc_column_inner][vc_column_inner width=”2/3″][vc_column_text]Add in coco powder as slowly as swerve till smooth.[/vc_column_text][/vc_column_inner][/vc_row_inner][vc_row_inner extra_classes=”processStep”][vc_column_inner align=”center” width=”1/3″][vc_single_image image=”1988″ border_color=”white” img_link_target=”_self” img_size=”medium” alignment=”center” style=”vc_box_outline”][/vc_column_inner][vc_column_inner width=”2/3″][vc_column_text]Lift off heat and slowly pour in vanilla exact as stir.[/vc_column_text][/vc_column_inner][/vc_row_inner][vc_row_inner extra_classes=”processStep”][vc_column_inner align=”center” width=”1/3″][vc_single_image image=”1982″ border_color=”white” img_link_target=”_self” img_size=”medium” alignment=”center” style=”vc_box_outline”][/vc_column_inner][vc_column_inner width=”2/3″][vc_column_text]Prep pans with parchment paper.[/vc_column_text][/vc_column_inner][/vc_row_inner][vc_row_inner extra_classes=”processStep”][vc_column_inner align=”center” width=”1/3″][vc_single_image image=”1983″ border_color=”white” img_link_target=”_self” img_size=”medium” alignment=”center” style=”vc_box_outline”][/vc_column_inner][vc_column_inner width=”2/3″][vc_column_text]After chocolate has cooled a few minutes but not too long, fill into frosting bag with chocolate tip.[/vc_column_text][/vc_column_inner][/vc_row_inner][vc_row_inner extra_classes=”processStep”][vc_column_inner align=”center” width=”1/3″][vc_single_image image=”1984″ border_color=”white” img_link_target=”_self” img_size=”medium” alignment=”center” style=”vc_box_outline”][/vc_column_inner][vc_column_inner width=”2/3″][vc_column_text]Wrap up top of bag twisting and maybe even tie off with rubber-band, squeeze out small chips either making small ice cream twist circles or squeezing out center and dipping down with sharp up lift for peak at end.[/vc_column_text][/vc_column_inner][/vc_row_inner][vc_row_inner extra_classes=”processStep”][vc_column_inner align=”center” width=”1/3″][vc_single_image image=”1985″ border_color=”white” img_link_target=”_self” img_size=”medium” alignment=”center” style=”vc_box_outline”][/vc_column_inner][vc_column_inner width=”2/3″][vc_column_text]Continue till tray is full, then use other tray if needs be. (Use trays with lips). After trays full place in fridge or freezer till solid, put in baggies and store in freezer till use.[/vc_column_text][/vc_column_inner][/vc_row_inner][vc_row_inner extra_classes=”processStep”][vc_column_inner align=”center” width=”1/3″][vc_single_image image=”1986″ border_color=”white” img_link_target=”_self” img_size=”medium” alignment=”center” style=”vc_box_outline”][/vc_column_inner][vc_column_inner width=”2/3″][vc_column_text]Enjoy![/vc_column_text][/vc_column_inner][/vc_row_inner][ultimate_spacer][/vc_column][/vc_row]
